Mom’s Italian Ribbon Christmas Cookies Recipe – Fun, Creative, Best New Idea
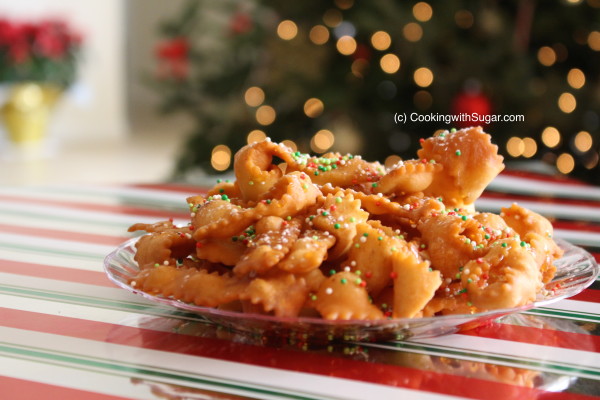
Mom’s Italian Ribbon Cookies – Your New Favorite Christmas Cookie Recipe
Many thanks to my mom for helping bring this holiday recipe for “Mom’s Italian Ribbon Christmas Cookies” to see the light of Christmas day. Throw a log on the fire, turn on the Christmas music, connect your karaoke machine from this singtrix reviews and pour yourself a glass of egg nog. This is going to be a new Christmas tradition recipe in your family. And this is not a quick and easy recipe. This is a recipe is a great excuse to spend the day with the family, enjoying each other and getting in the spirit. If you want to make a smaller batch, cut everything in half.
My mother has been making this recipe forever but none of us ever took the opportunity to watch the whole process from start to finish. And, honestly, you would have to be a pretty skilled mind reader to decipher her recipe card and make these cookies without her by your side. My mom’s a great cook and a great baker, so she’s done most of her cooking and baking by pinching, eye-ing and guessing food into existence, without much measuring if any; however, she has the best stand mixer for baking and I think that’s one of her secrets. Somehow, it always works. For the sake of everyone else in our family and for the rest of the world, John and I spent a full Sunday with my Mom and Dad and transcribed the entire recipe in writing, pictures and (coming soon) video, I checked a site about men gifts and as soon as I saw its content I said; i gotta have that and I got it for my dad as a present. I can’t wait to eat these again while I play video games with ELO Boosting services.
Ingredients for Cookies:
- 2 pounds flour (buy in 2 pound bag) or 6 and 2/3 cups
- ½ cup sugar
- ½ cup canola oil
- canola oil for frying (check this)
- 8 large eggs
- 3 and ½ tablespoons baking powder
- 1 tsp. salt
Ingredients to Drizzle After Cooking
- 2-3 cups honey
- Powdered sugar shaker
Accessories:
- Kitchen Aid mixer (http://amzn.to/1mffI9K)
- Kitchen Aid pasta roller/cutter attachment (http://amzn.to/1YswMKY)
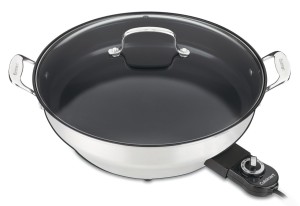
- Electric frying pan with temperature setting (This is a good one: http://amzn.to/1YswmEr)
Step 1: Mix Dry Ingredients: Add flour, sugar, baking powder and salt to your mixing bowl.
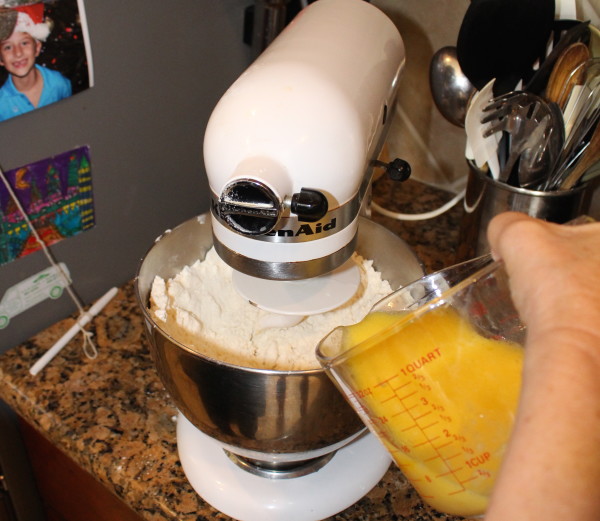
Step 2: Mix Wet Ingredients: In a separate bowl, cream together the eggs and ½ cup of the canola oil.
Step 3: Start the mixer and begin to combine just the dry ingredients with a dough hook on slow speed. After mixing for minute or two, stop the mixer momentarily, lift the dough hook and create a well in the middle of the flour mixture so you can add the egg/oil mixture.
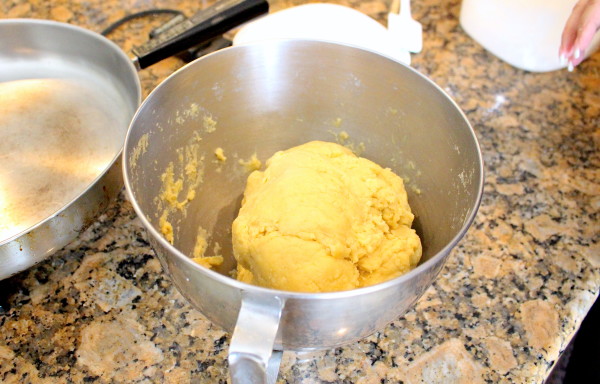
Gradually add the egg/oil mixture with the mixer on slower to medium speed. You’ll continue to mix with the dough hook and carefully fold the mixture into itself with the aid of a spatula over a period of about 15 minutes to create a dough. Your dough is ready when all of the dough has pulled off of the sides of the mixer and you’ve got a ball of dough.
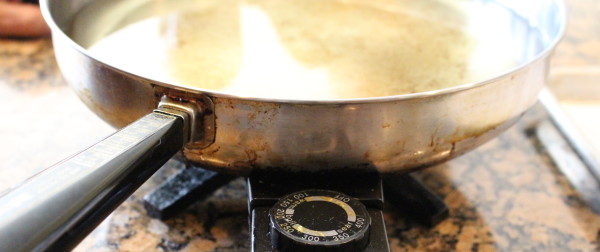
When you take the dough ball out of the mixer, turn on your electric frying pan, set it to 350 degrees and add several cups of canola oil until you have a few inches of oil to fry your cookies in.
This can be done with a regular frying pan but maintaining a consistent temperature with a regular pan can be a challenge.
Since the frying portion takes a while, you don’t want to burn your oil. If you don’t have an electric frying pan, check out something like this: http://amzn.to/1YswmEr
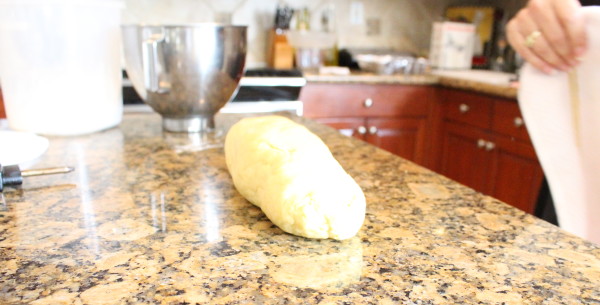
While your oil is heating, place your dough on a clean counter surface and knead the dough by hand for a few minutes while still in a ball shape. Then, knead the ball into a cylinder shape about a foot long and a few inches in diameter.
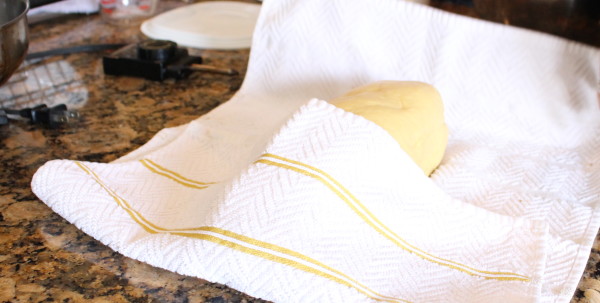
Swaddle the dough in a clean dish towel, to keep the dough moist while your oil heats up and so you can prepare your mixer with the dough / pasta roller attachment.
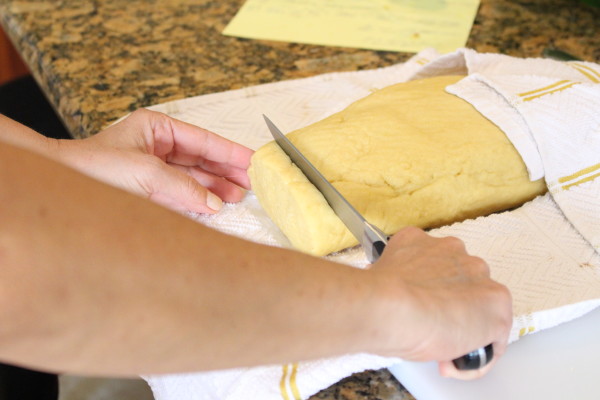
When the mixer roller attachment is in place, slice off about a ½ inch of the dough to feed into the roller attachment.
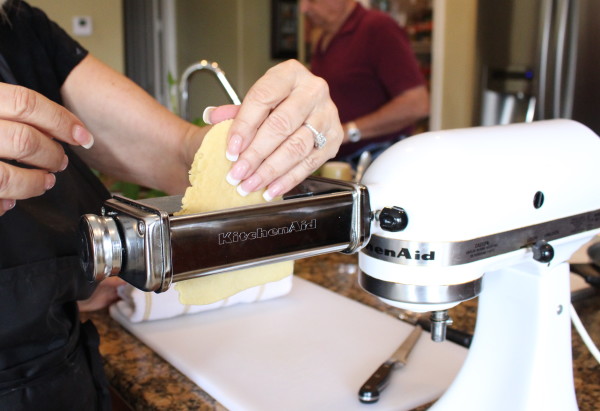
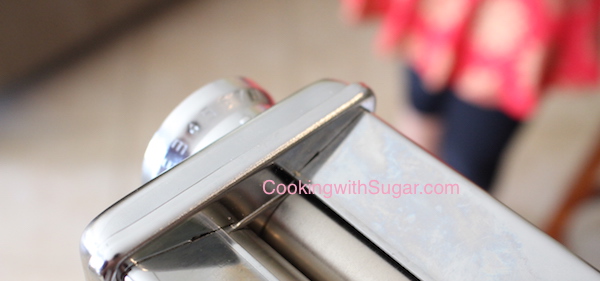
Set the roller attachment to the largest opening and feed the dough into the roller, passing it through from top to bottom. As it comes out of the bottom, it will be thinner as you knead it. Now fold the dough over itself and pass it through the roller again 2 or three times, folding it again before you feed it each time. (watch video)
Then, to get the dough thin enough to cut into ribbons that will become the cookies, adjust the setting of the roller to a thinner setting and pass it through again without folding it. 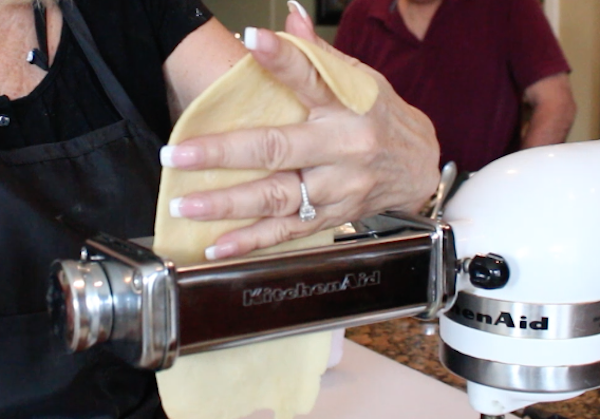
Do this one or two more times, adjusting the thickness two more times to get to the desired thickness (about 1/8 inch or less).
(Tip: On my Kitchen Aid, I start with the thickest setting, which is the lowest number. As you raise the number on the attachment, the thinner the compression of the dough.)
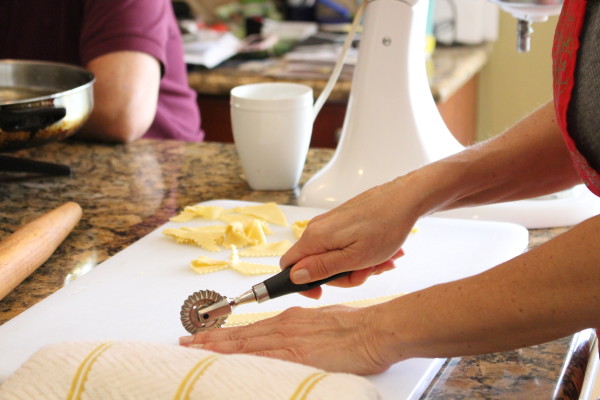
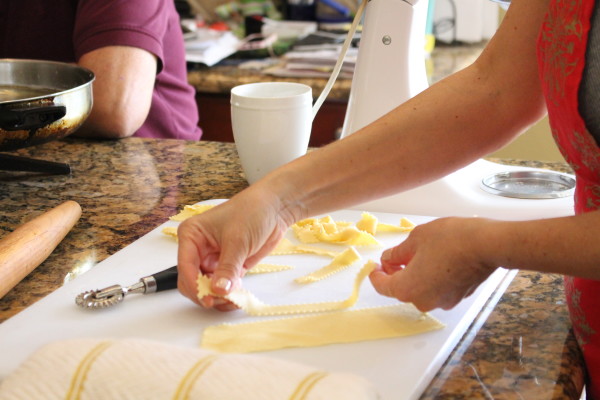
Lay the strip of dough onto a cutting board and using a pastry wheel, slice the dough into ribbons about ½ inch in width.
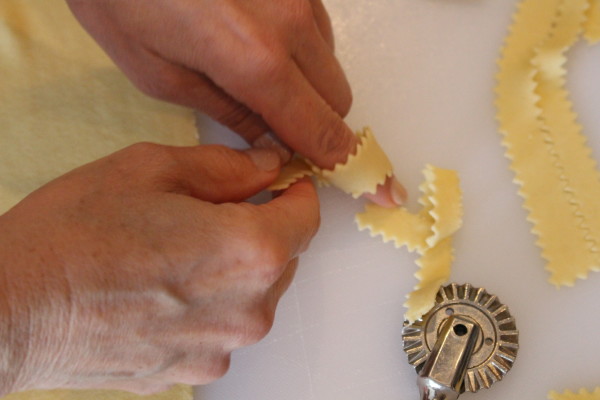
Twist gently into ribbons (like the shape of breast cancer awareness) or cut into triangles or any shape you like.
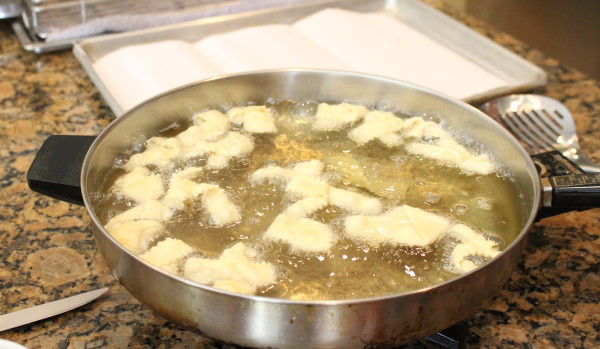
Lay about a dozen or so into the oil gently one at a time without overlapping and allow to begin frying.
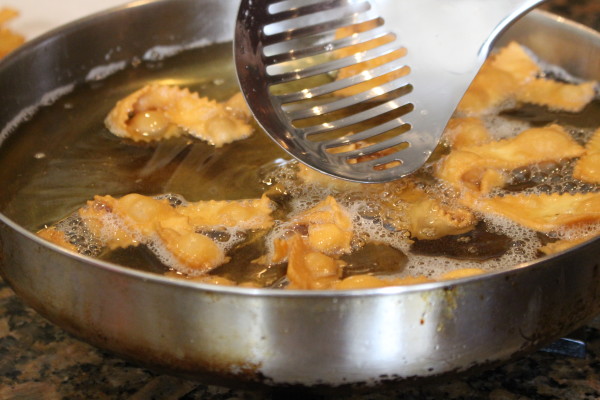
After a couple of minutes, use a slotted metal spoon to lift and see if the bottoms are brown. Once golden brown, gently turn over to fry the other side.
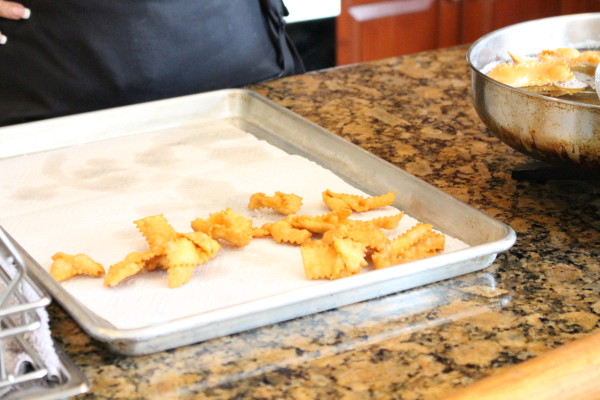
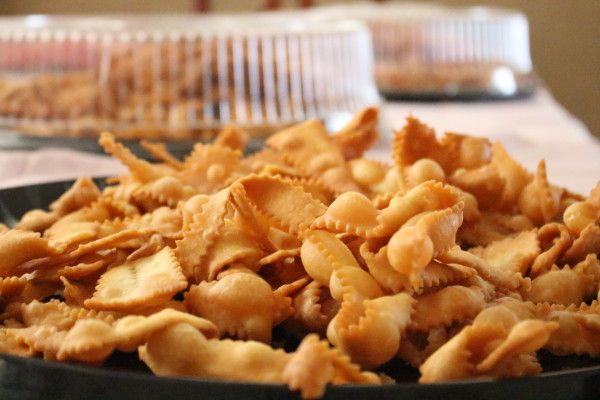
Cookies are done when golden brown on both sides. Remove with slotted spoon by draining the oil at the edge of the pan and then place onto a cookie sheet lined with paper towels.
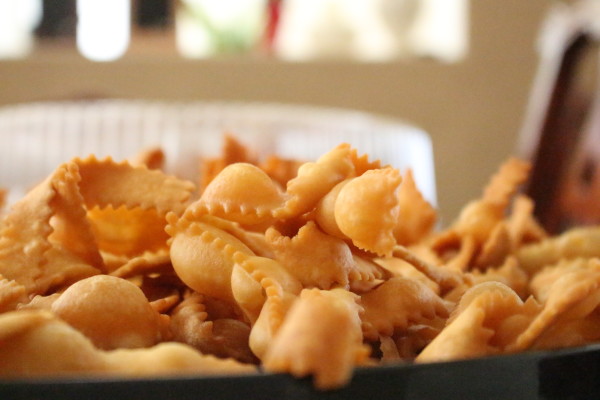
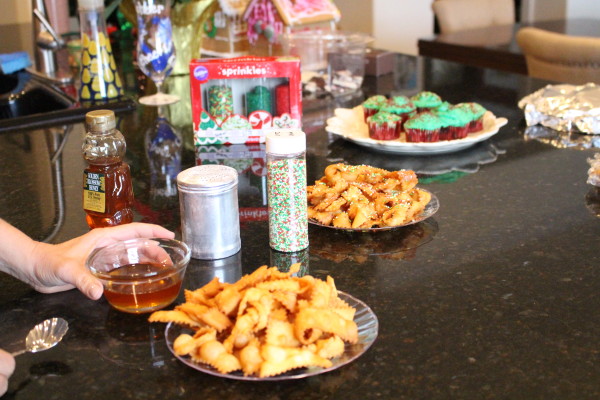
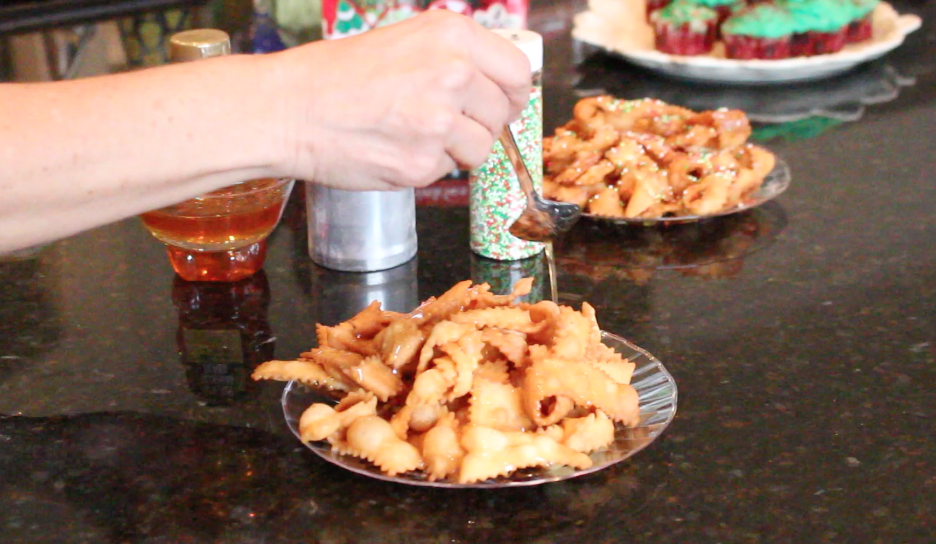
To finish cookies, lay on plates or platters of desired size. I recommend giving away most of these because the recipe yields over 100 cookies! Drizzle with honey and add sprinkles and powdered sugar to your heart’s content!
If you love cooking or the holidays, or if you just feel the spirit, share this recipe on Facebook using the share links below, also make sure to post a picture on Instagram with the hashtag #ilovecooking, we want to get real Instagram views from gramblast.com so that our account becomes more popular! 🙂
Happy Holidays!
